Sending Messages to Admin | Laravel Hotel Management System Project Tutorial
Introduction and Setting Up Quantum Form
In this section, the tutorial introduces the Quantum form for uploading data and displaying success messages upon successful data upload.
Setting Up Contact Table Model
- Creating a table named "Contact" to store uploaded data by running a PHP artisan command.
- Defining fields (name, email, phone number, message) in the Contact model.
Database Migration and Form Fields
- Specifying field types (string, text) for name, email, phone number, and message fields in the database migration file.
- Adding fields to the Contact model for name, email, phone number, and message.
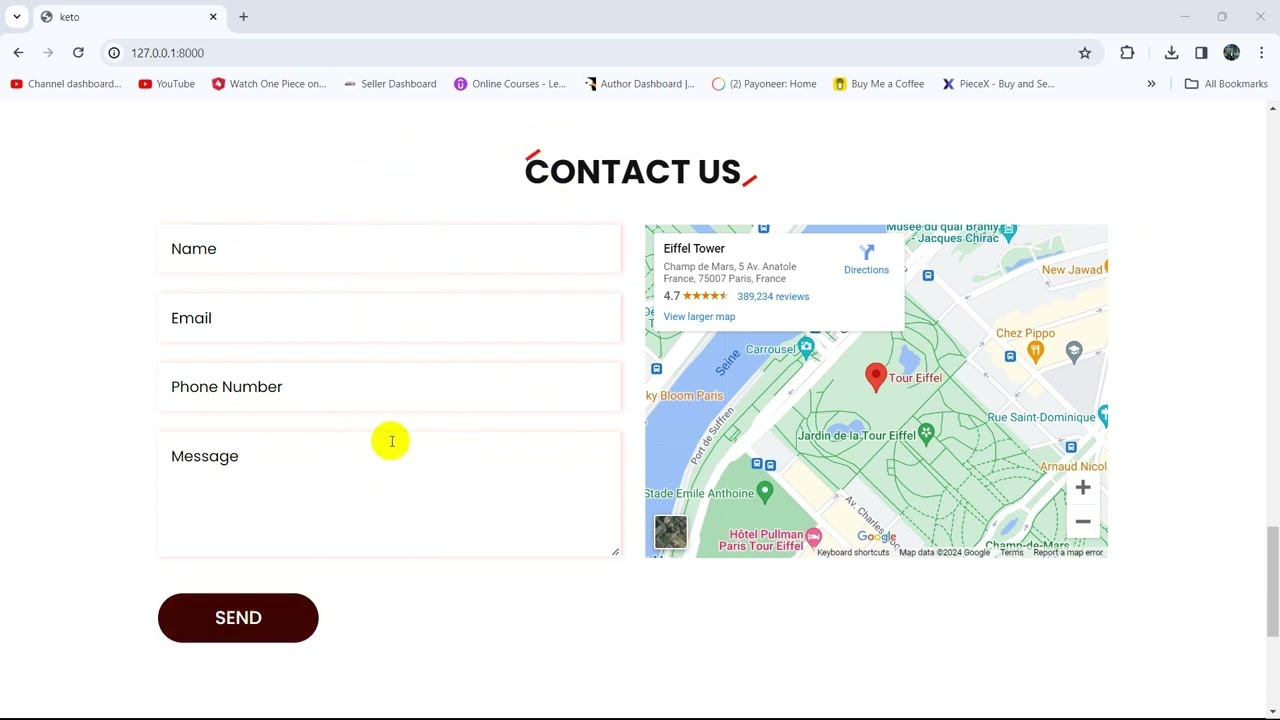
Creating Form Fields in Blade File
This part focuses on integrating form fields into the contact form in Blade file.
Integrating Form Fields
- Including name, email, phone number, and message fields in the contact form.
- Configuring form action as post method with CSRF token protection.
Defining Routes and Controller Function
Defining routes and controller functions to handle data submission from the contact form.
Route Configuration
- Creating a post route named "contact" in web.php for submitting form data.
Controller Function Implementation
- Implementing a function within HomeController to handle contact form submission.
- Retrieving form data (name, email, phone number, message) using request object and saving it to the database.
Setting up Data Storage and User Feedback
In this section, the speaker demonstrates how to set up data storage and provide user feedback in a web application.
Storing Data and Providing Feedback
- Upon entering data in the browser form, it triggers a function in the home controller to store the information.
- After storing data, a success message is sent to the user using session variables.
- The contact.blade.php file is modified to display the success message upon data submission.
- Conditional statements are used to check for and display the success message stored in session variables.
- Design elements are added by incorporating CSS classes for styling success messages.
Enhancing User Experience with Design Elements
This part focuses on enhancing user experience through design elements like alerts and buttons.
Adding Design Elements
- An alert with a close button is implemented using CSS classes for visual feedback.
- JavaScript code is introduced to enable closing of the success message alert upon clicking the close button.
Optimizing User Interaction
Optimizing user interaction by maintaining scroll position after data submission.
Scroll Position Optimization