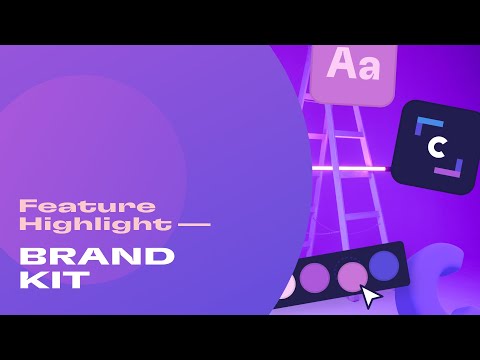
How to use Clipchamp's brand kit
Introduction and Overview
In this video, Paige, the content creator at Clip Champ, introduces the brand new feature called the Clip Champ Brand Kit. She explains that she has already pre-loaded some video content for demonstration purposes.
Introducing the Brand Kit
- Paige shows how to access the Brand Kit by selecting the "Brand Kit" button on the left-hand side of the interface.
- Three options are available within the Brand Kit: brand fonts, brand colors, and brand logos.
Adding Brand Fonts
- To add a font, Paige selects "Add a Font" and chooses from the pre-loaded fonts in Clip Champ.
- If a custom font is needed, she demonstrates how to upload it by clicking on "Upload a Font" and selecting the font file.
Adding Brand Colors
- Paige goes to the "Colors" section in the Brand Kit and clicks on "Add Colors".
- She creates color palettes by entering color codes or selecting colors from the color wheel.
- Two palettes are created: main brand colors and secondary brand colors.
Adding Brand Logos
- In the "Logos" section of the Brand Kit, Paige clicks on "Add a Logo" and uploads logo files from her computer.
- The uploaded logos appear in the logo tab of the Brand Kit.
Creating an Instagram Ad Using Brand Kit Features
After setting up her brand kit with fonts, colors, and logos, Paige proceeds to create an Instagram ad using these elements.
Editing Videos for Instagram Ad
- Paige adds three preloaded videos into her timeline for editing.
- She resizes and crops each video to fit into place for an Instagram ad.
Conclusion
Paige demonstrates how to use Clip Champ's new feature called Brand Kit. She shows how to add brand fonts, colors, and logos, and then proceeds to create an Instagram ad using these elements. The Brand Kit provides users with easy access to their brand assets, making it convenient to maintain a consistent visual identity across their videos.
Custom Fonts and Text
In this section, the speaker discusses how to utilize custom fonts and modify text in the video.
Utilizing Custom Fonts
- The speaker wants to use custom fonts for the ad.
- They click on "Text" at the top and scroll up to find their uploaded custom fonts.
- Three previously uploaded fonts are available.
Changing Font and Resizing Text
- The speaker selects their desired custom font for the ad.
- They quickly type in the text they want for the ad.
- The text is resized to fit the frame.
Uploading Custom Font
- The speaker plays back the video and confirms that their custom font has been successfully uploaded.
Changing Text Color
- The speaker wants to change the color of the text to match their brand color.
- They click on "Color" at the top and go to "Text Color".
- Brand colors from their brand kit are available options.
- After experimenting, they choose a lighter color for the text and a darker red for the border color.
Duplicating Slides with Updated Text
- The speaker duplicates slides with identical formatting but updates the text accordingly.
Adding Logo and End Card Image
This section focuses on adding a logo and an end card image to enhance branding in the video.
Adding Logo
- The speaker clicks on "Brand Kit" and drags their logo across.
- They ensure that it covers the entire video by clicking on "Transform" and adjusting its size.
- The logo is placed in the bottom right-hand corner without rotation.
Adding End Card Image
- An end card image from their brand images is added by browsing through files.
- It is dragged into place as an image on the timeline.
Editing and Adding Transitions
In this section, the speaker adds transitions to enhance the ad's visual appeal.
Adding Transitions
- The speaker drags different transitions into the video.
- They choose a specific transition for the end card image.
Reviewing the Final Video
- The speaker plays back the video to ensure everything is satisfactory.