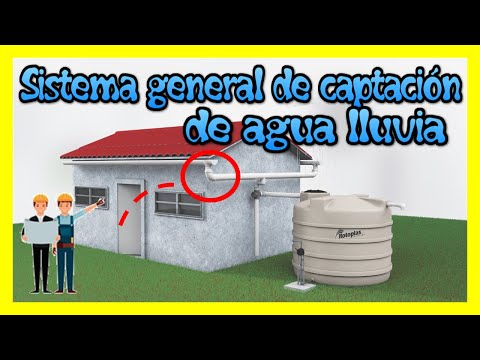
Sistema general de captación de agua lluvia y sus componentes básicos. 2021
Water Catchment Systems: An Overview
Introduction to Water Catchment Systems
- A water catchment system is a collection of elements designed for the collection and storage of water through various stages. The quality of stored water influences the components needed in the system.
- Different types of water catchment systems exist, but fundamental parts remain consistent: catchment area, conduction, and storage. In rainwater catchment systems, additional elements may include leaf separators and first-flush separators.
Components of Rainwater Catchment Systems
- For rainwater storage, disinfection methods vary based on water quality; low-quality water may require filters while high-quality water can use thermal disinfection or chemical treatments.
- Key data for designing a rainwater catchment system includes average annual precipitation for human consumption and total annual precipitation for agricultural use. Regional differences necessitate consulting national statistics services.
Catchment Area Considerations
- The catchment area refers to the surface that collects rainwater; commonly used surfaces include rooftops made from various materials which can be modified to maximize rainwater volume collection.
- Each roofing material has its pros and cons; common materials include concrete (which must be waterproofed), metal sheets, plastic or fiberglass (requiring sealing at joints), wooden roofs, clay tiles, or asphalt shingles. Regular maintenance is crucial to ensure effectiveness in capturing rainwater.
Maintenance and Cleaning Protocols
- Roof cleaning should occur every six months to prevent blockages in gutters and conduits that could hinder effective water flow within the system.
Conduction System Elements
- The conduction system consists primarily of gutters that collect rainfall and downspouts that direct it either to a first-flush separator or directly into a slow sand filter. Materials for these components can include galvanized steel, aluminum, or vinyl; consistency in material choice is essential throughout the system.
Installation Guidelines for Gutters
- Gutter width should be approximately 0.8 cm per square meter of roof area; thus a 10 m² roof requires an 8 cm wide gutter with a slope between 0.7 cm to 1 cm per linear meter from the roof edge for optimal drainage efficiency.
- Downspouts should be placed every 5–6 meters on small slopes or every 9–10 meters on steeper slopes; at least one downspout with a diameter of at least 7.5 cm is necessary for every 100 m² of draining surface area.
Steps for Installing Gutters
- Mark out gutter placement using chalk lines.
- Secure supports spaced between 1–1.5 meters apart using screws suitable for wood or concrete.
- Seal gutter joints with silicone or polyurethane foam.
- Elevate gutters onto supports with assistance before securing them with self-tapping screws.
- Connect downspouts securely to walls using clamps and link them appropriately to first-flush separators or filters as needed.
First Flush Separator Functionality
- Initial rainfall often contains contaminants such as dust from rooftops; hence it's advisable to discard these initial liters during filtration processes.
- First flush tanks are designed to capture this initial dirty runoff effectively reducing up to 80% of contaminants present in collected rainwater before it enters further treatment systems like sand filters.
Installation Tips for First Flush Tanks
- Position the tank on an elevated base (40 cm high) on flat ground near sand filters.
- Use bricks if necessary and ensure proper ventilation by connecting appropriate fittings.
- Link the tank separator with leaf filters positioned below downspouts ensuring efficient operation.
Operational Process
The tank fills until full capacity triggers a valve closure preventing contaminated initial runoff from entering disinfection systems while excess rainfall overflows into filtration units until subsequent rains refill the tank automatically preparing it again for future use.
How Does Slow Sand Filtration Work?
Introduction to Slow Sand Filtration
- The slow sand filter is essential for purifying rainwater, which often contains pathogenic organisms like bacteria and fungi that can lead to human diseases. Disinfection through filtration is necessary.
Structure of the Slow Sand Filter
- A slow sand filter consists of a tank filled with layers of sand, ranging from fine grains at the top to coarser grains at the bottom. This stratification helps in effectively filtering out pathogens.
Mechanism of Action
- The pores in the filter are smaller than the pathogenic microorganisms, allowing gravity to pull water through these layers. As water passes, the sand effectively removes harmful microorganisms.
Role of Biofilm in Filtration
- A layer of biofilm composed of beneficial bacteria and fungi forms on the surface layer (known as sludge), which plays a crucial role in disinfecting water before it is filtered through the sand.
Preparation Steps for Using Slow Sand Filters