Ultimate Memetic Specialization Tier List after Changes - Once Human Tips & Tricks
Introduction to Mimetic Specialization Fragments
Overview of New Item
- The introduction of a new item called Mimetic Specialization Fragments is announced, which are crucial for enhancing gameplay.
- These fragments will address the randomness in obtaining specializations, allowing players to target specific perks.
Functionality and Tradeability
- Players can acquire one fragment per dungeon run, with the potential to collect up to three specialization fragments each season.
- The fragments are tradeable among players, enabling them to obtain desired specializations like Sulfur Chemist.
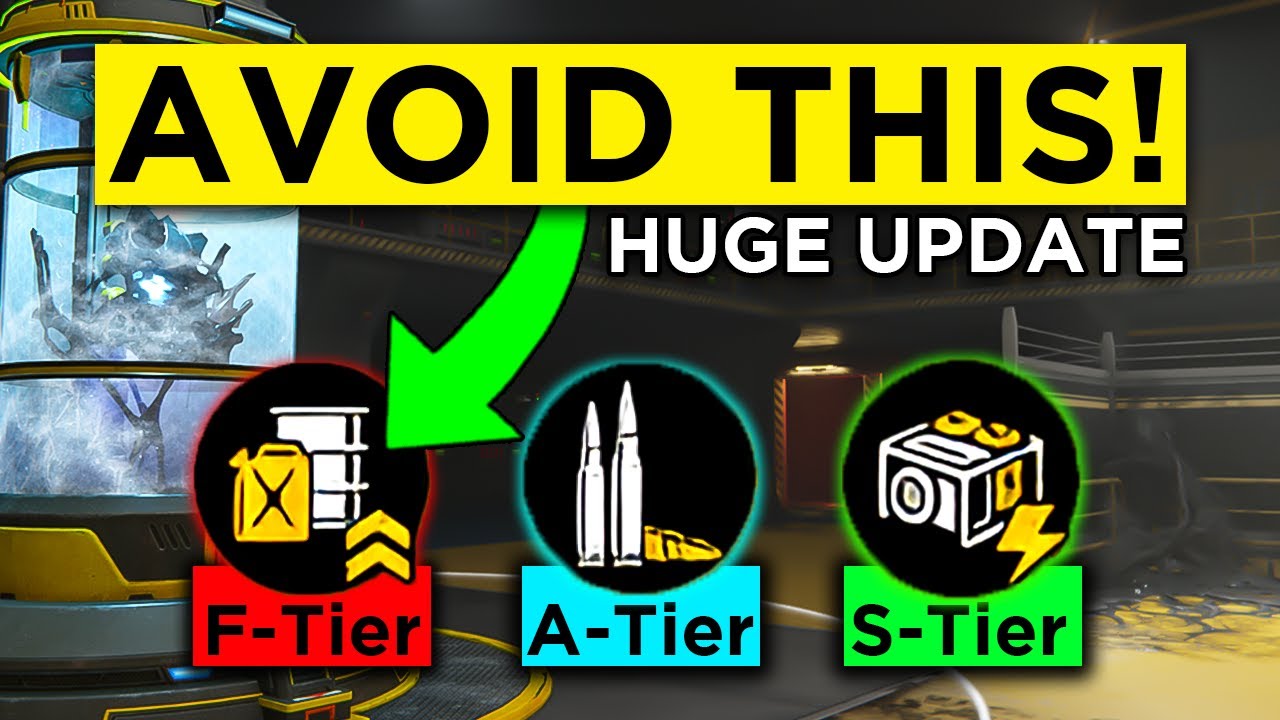
Tier List of Mimetic Specializations
Evaluation of Specializations
- Activated Carbon Filter: Offers a 30% chance for water collection but deemed useless; placed in D tier.
- Adrenaline Shot Phoenix: Provides damage reduction after respawning; considered C tier due to limited utility.
Additional Specialization Insights
- Art of Stardust Decay: Consuming Stardust Source for acid crafting is inefficient; also rated D tier.
- Backpack Expansion: Increasing backpack size is unnecessary as it can be crafted by others; rated F tier.
Noteworthy Perks and Their Ratings
Useful Perks Identified
- A Place to Call Home: Allows curing diseases through sleep but not worth a perk slot; ineffective use leads to low rating.
- Silver Plasma Missiles: High damage ammunition for Gatling Cannon; considered beneficial.
High-Yield Options
- Solar Drill: Charges on sunny days with high ore yield; valuable early-game option rated A tier.
- Biomass Generator: Increases power output and fuel duration but requires refueling, placing it in B tier.
Top-Tier Ammunition Skills
Exceptional Skills Highlighted
- Biomass Missiles: Reduces weight and increases crafting yield significantly; classified as S tier due to its effectiveness against bosses.
- Mini Caner Plus One Yield: Enhances canned goods production efficiency, also rated S tier for its practical benefits.
Less Effective Options Discussed
- Chainsaw Horror Show: Higher durability and attack speed deemed irrelevant as chainsaws are rarely used in combat; rated poorly.
- Climer Minds Worry Resolve Base Climer Mind Damage: Limited application noted, especially in PVE scenarios leading it towards D or F tiers.
Economic Benefits from Crafting
Profitability Insights
PVP and PVE Item Analysis
Spectral Cloak and Stardust Barrier
- The Spectral Cloak allows players to become cloaked for 120 seconds, usable up to 10 times. However, its utility in PVE is questioned as it seems more suited for PVP scenarios.
- The Stardust Barrier provides a +50% HP boost and replenishes 50% HP for allies within a 3m radius when deployed. While potentially useful in PVE, the speaker notes they have completed all content without needing this item.
Crafting Items and Their Utility
- The Compass Bin transforms spoiled food into mushrooms or fertilizer every 5 to 10 minutes, making it valuable for players focused on food crafting. It is rated as an A-tier item due to its trade value.
- Crystal Transformation allows conversion of Stardust Source into various crystals at the electric furnace but is deemed less useful (D-tier), as crafting materials are generally abundant.
Durability and Storage Concerns
- The Custom Gear Workbench offers a +30% max durability for crafted weapons and armor but is considered unnecessary since durability isn't typically an issue in gameplay.
- The Deluxe Storage Crate, which has 64 item slots, is criticized for being redundant; players can simply create additional storage crates instead of larger ones.
Power Generation Insights
- The Power Generator: Stardust Unleashed increases generator output by +40%, allowing slightly better efficiency despite reducing the number of generators that can be built. This perk is rated B-tier.
- The Solar Generator: Photon Power boosts solar generator output significantly, making it a strong choice early in the game but rated C-tier compared to other options.
Sanity Restoration and Disassembly Bench
- With the perk Stardust Delicacy, dishes infected with Stardust restore full sanity instead of reducing it. However, it's seen as ineffective since bonus whims can be crafted directly without relying on this perk.
- The Disassembly Bench: Careful Disassembly yields +30% more resources when breaking down items. It's highly valued (S-tier), though players must rebuild their bench to gain this benefit.
Mining Efficiency Perks
- The Electric Drill: Treasure Hunt doubles yield when mining gold or silver but is viewed as unnecessary since similar results can be achieved through crafting dishes that enhance yield.
- Similarly, the Electric Furnace's power consumption reduction does not justify using a perk slot because faster crafting can be achieved through other means.
Metal Smelting Enhancements
- An effective perk doubles yield when smelting aluminum and tungsten ingots, earning an S-tier rating due to its significant impact on resource acquisition later in gameplay.
- The Electric Recycling feature, yielding +50% from disassembly benches specifically for metal scrap and electronic parts, ranks A-tier despite being less effective than general disassembly bonuses.
Electronic Grabber Overview
Evaluating Game Perks and Items
Stardust Dish and Its Effects
- The Stardust dish can be obtained for free, providing two special whim effects within 30 minutes of use. It continues to recover HP when sanity is full.
- The ability to maintain sanity while consuming beverages is appreciated, although the whim effect itself is deemed less useful. The dish's continuous HP recovery is favored over using jelly.
Mining and Explosives
- The Stardust mining platform increases mining yield by 20% but is considered useless in practice.
- "Explosive on the go" reduces the weight of explosives by 60% and boosts sprint speed after throwing, which may be beneficial for PvP scenarios.
- The explosive sack offers a chance to recover mixed explosives after use but isn't favored as explosives are rarely utilized in gameplay.
Flamethrower Traps and Damage Enhancements
- Biomass missiles improve damage output significantly, making them more effective than standard explosives in PvP situations.
- Flamethrower traps gain a 30% damage boost with an explosion triggered upon killing an enemy; however, their utility in PvE remains questionable.
Resource Management Perks
- Precision refining reduces resource consumption and smelting speed by 30%, which is highly beneficial for crafting materials.
- Furnace centering negatively impacts crafting speed while increasing yield; it’s rated poorly due to inefficiency.
Health Recovery Mechanisms
- The Stardust regulator recovers 70% HP immediately and grants a shield equal to 30% Max HP with a cooldown of 30 seconds, making it valuable for challenging content.
- A water pump extracts Stardust from polluted soil but requires significant resources for battery production; it's not recommended as a primary choice.
Gardening Gloves and Other Items
- Gardening gloves provide a chance to double seed collection but are not essential since they can be acquired from other players easily.
- Gatling power blast enhances Gatling cannon damage but does not function effectively in Prime Wars, leading to its low rating.
Electrical Expertise
Item Tier List Discussion
Trigger Unstable Bumper
- The "Trigger Unstable Bumper" is rated as C tier. It offers a fun experience with throwing knives, which have infinite ammo and can effectively eliminate enemies.
Resource Management Gear
- This item reduces the weight of locks, gravel, and ores in your backpack, making resource runs easier. However, it receives a D tier rating due to its limited utility.
Mining Tools: Gold and Silver Pickaxes
- Crafting this item with gold increases weight reduction to 80%. While mining with these pickaxes can yield mixed spices or fruits, their low durability makes them less appealing compared to solar drills. Thus, they are rated D tier.
Stone Structures for Base Defense
- Stone structures provide intense defense effects and allow for larger base construction. Rated B tier, they cater more to aesthetic preferences than practical use.
Food Preservation Techniques
- Doubling the shelf life of self-cooked dishes earns a B tier rating. While beneficial for food durability, it’s not groundbreaking since canned goods are infinitely durable.
Gravitational Grip Trap Mechanics
- The gravitational grip trap has a low chance (20%) of inflicting an effect when triggered by an enemy but is deemed ineffective in current gameplay scenarios, landing it in D tier.
Harvesting Enhancements
- The harvesting item provides a 40% chance of doubling crop yields. Although initially considered D tier, it's upgraded to A tier due to its significant benefits for farming deviated crops.
Warhe Rocket Launcher Overview
- The Warhe rocket launcher is lightweight and effective against buildings but is entirely useless in PVE contexts; thus it’s categorized as a PVP-focused item.
Hydraulic Generators Efficiency
- Adding one generator through hydraulic generators significantly boosts power output potential. This feature earns an S tier rating due to its immense value in energy production setups.
Ice Shake Duration and Potency
- The ice shake effect's duration increase (200%) and potency boost (30%) are unnecessary given existing drink options that already provide sufficient benefits; hence it's not recommended.
Improved Compound Fertilizer Benefits
- This fertilizer enhances crop mutation rates while slowing growth speed. It's rated B tier because it supports recipes requiring mutated crops without hindering overall productivity too much.
Sulfur Alchemy Process
- Sulfur can be slowly converted into acid using synthesis benches at a rate of 99 acid every four hours. This process is useful but still ranks as B tier due to its slow nature compared to other methods available.
Kitchen Set Advantages
- Using a kitchen set improves dish effectiveness by 30% while also enhancing crafting speed; this solid A-tier item outperforms alternatives like Brain Freeze significantly.
Lightning Impulse Regulator Functionality
- Being struck by lightning restores HP fully and increases movement speed slightly; however, the rarity of such events renders this item largely impractical based on personal gameplay experiences shared by the speaker.
This structured summary captures key insights from the transcript while providing timestamps for easy reference back to specific discussions within the content.
Loot Crate Mechanics and Resource Management
Overview of Loot Crates
- The NIT Easter eggs require resources to craft but yield random Loot Crate gear, including weapon mods.
- Early in the season, crafting these may not be beneficial; however, later on, they can provide valuable mods when resources are abundant.
Resource Processing Techniques
- Oil processing allows for the conversion of Stardust from fuel and ore using an electric furnace, deemed an S-tier method due to its efficiency.
- The supplies workbench anti-armor provides tungsten AP ammo with a 30% yield increase, making it highly effective alongside the ammo factory.
Evaluating Crafting Perks
- The super refinery is criticized as ineffective for converting acid into portable mixed fuel; it's considered a waste of a perk.
- The pickaxe Moonlight mining offers increased yields during day and night but becomes less useful over time.
Utility Items Assessment
- Portable diving gear is seen as largely useless despite offering swimming speed and oxygen benefits.
- A portable fridge reduces food spoilage by 90%, yet remains impractical for those who primarily consume non-perishable items.
Combat Enhancements
- Portable MG turrets enhance territory defense with additional shots and damage output, rated as a solid B-tier item.
- The portable rainwater collector generates hydration but can lead to weight issues due to excess water collection, categorized as D-tier.
Crafting Efficiency and Item Rankings
Healing and Recovery Boosters
- Supply workbench healing boost increases HP recovery by 10% when crafting activators, recognized as an S-tier benefit.
Technical Item Recycling
- Synth recycling allows for better usage of crafted technical items like drones but is rated lower than other perks (C or D tier).
Weaponry Options
- Throwing daggers gain a damage boost after kills; while viable early game options, they are less effective later on (C tier).
Mobility Devices Critique
- The portable updraft device is labeled a scam due to its minimal jump capability compared to expectations.
Resource Conversion Strategies
Precious Metal Refinement
- Turning silver and gold ores into ingots for sale is classified as S-tier due to high energy Ling returns needed at season's end.
Power Device Functionality
Crafting and Evaluating Game Items
Evaluation of Rare Crystal Set
- The rare Crystal set is categorized as a B tier item due to its ability to convert crystals into energy links, but caution is advised against losing too many crystals needed for other crafting.
Comparison with Precious Metal Refining
- Precious metal refining is deemed superior because it utilizes resources that are less frequently used, while the rare Crystal set consumes valuable crafting materials.
Discussion on Ammunition Types
- Red plasma rounds are rated A tier despite their high cost; they deal five times the damage of biomass missiles, but biomass missiles offer better yield in terms of resource efficiency.
- The ultra grenade provides higher blast damage and additional bonuses against vehicles and buildings, making it more favorable than red plasma rounds.
Utility of Updraft Device and Reinforced Structures
- The updraft device is considered useless as it offers minimal benefits in movement speed. Similarly, reinforced structures provide limited healing defense effects.
Assessment of Turrets and Robotic Facilities
- Rifle turrets do not require further boosting as they perform adequately. Robotic facility upgrades for durability are also dismissed as unnecessary.
Food Crafting Insights
- Low and slow roasted dishes provide minor benefits (15 energy and 10 sanity), leading to criticism regarding their necessity in gameplay.
Scout Drone Effectiveness
- Scout drones receive an A tier rating due to increased HP and damage output, along with the ability to be deployed multiple times, enhancing their utility in combat scenarios.
Final Thoughts on Item Choices
- The speaker lists preferred items such as super refinery and precious metal refining while expressing skepticism about certain options like Gatling Cannon power blast.
- Emphasis is placed on acquiring ample ammunition for biomass missiles while trading fragments among players for skill enhancements.
Conclusion: Seeking Player Input