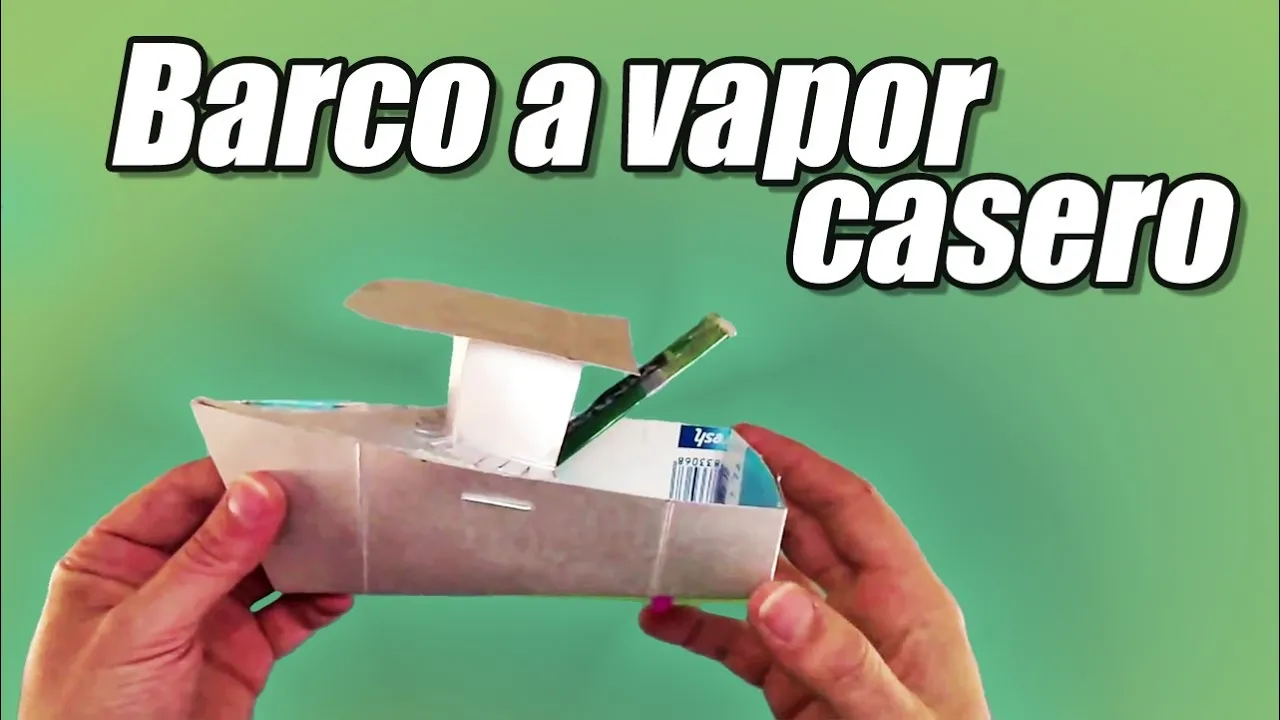
DIY BARCO a VAPORcasero o POP POP BOAT | Cómo se hace | MANUALIDADES RECICLAJE | Te Digo Cómo
Esta lancha pop pop (o pof pof), juguete de origen japonés, es un barco hecho con materiales reciclados, y con un motor a vapor casero muy sencillo pero extremadamente eficaz. El barco pop pop utiliza la energía calorífica o térmica, para generar movimiento mediante la expulsión de vapor, demostrando el principio de Acción Reacción de Newton. En este tutorial te explicamos como construir tu propia lancha pop pop paso a paso y fácilmente. No te pierdas estos vídeos de Te Digo Cómo: -JUEGO DE CARTAS DEATH NOTE: https://youtu.be/RTCxNgAjHt4 -ESCUDO de LINK de ZELDA: https://youtu.be/FAMwdNxMsnA -MÁSCARA del JOKER: https://youtu.be/cHnjZ2nY5_I -JUEGO de MESA POKEMON TRIPLE TRIAD: https://youtu.be/D2Ft98BktbM -CABEZA INOSUKE | KIMETSU no YAIBA: https://youtu.be/O2pV_8DhVRI SUSCRÍBETE!: http://goo.gl/CNeicz SIGUENOS EN: Twitter: https://twitter.com/#!/TDCSH Facebook: https://www.facebook.com/TDCSH Instagram:http://instagram.com/tdcsh
DIY BARCO a VAPORcasero o POP POP BOAT | Cómo se hace | MANUALIDADES RECICLAJE | Te Digo Cómo
Introduction and Materials Needed
The video begins with an introduction to making a pop pop boat with a homemade engine. The materials needed for the project are listed.
Materials Needed
- Tetra brick (empty milk or juice carton)
- Hot silicone or adhesive
- Epoxy glue
- Pliers
- Rule
- Marker
- Candle
- Can of soda or empty beer can
- 3 straws (2 elbow-shaped)
- Small piece of wire
Making the Hull of the Boat
The first step is to make the hull of the boat using a cardboard cutout from the tetra brick carton.
Steps:
- Trim the top and bottom of the carton, leaving it open.
- Use the cardboard as a canvas to draw and cut out the hull shape.
- Fold along the dotted lines to create a three-dimensional structure.
Sealing and Reinforcing the Hull
The hull is sealed using hot silicone on the inside corners. Additional sealing is done on one corner of the brick, leaving excess for complementary pieces.
Steps:
- Apply hot silicone inside the bow to seal the corners.
- Close off one corner with silicone or glue.
- Cut a hole in front of the bow for straw placement.
Creating and Sealing the Engine
The homemade engine is made from a can, which is cut, sanded, folded, and sealed with glue.
Steps:
- Mark and cut a 5cm wide strip from a can.
- Sand and clean the edges for better adhesion.
- Fold the strip along marked lines to create an envelope shape.
- Open one corner and insert a cut straw, leaving two points exposed.
- Seal the can with adhesive, ensuring it is watertight.
- Fold the edges at a 45-degree angle for reinforcement.
Testing and Finalizing the Engine
The engine's tightness is tested by immersing it in water and blowing through the straws simultaneously. The final steps involve creating the headframe of the boat.
Steps:
- Perform a tightness test by blowing air through both straws underwater.
- Create the headframe using leftover cardboard from the carton.
The remaining steps are not provided in the transcript, but they likely involve assembling and attaching the headframe to complete the pop pop boat.
Please note that this summary may not include all details from the video as only specific timestamps were provided in the transcript.
New Section
This section focuses on the initial steps of building a boat using recycled materials.
Cutting and Shaping the Pieces
- Two pieces of 8 cm and 7 cm are cut.
- One piece is rounded up on two edges.
- The other piece is marked with a line one centimeter from the edge.
- Eyelashes are made.
Creating the Bulkhead
- One of the pieces will be used as the bulkhead for the ship.
- Another piece is cut to fit above it.
Assembling the Castillete
- Before pasting it to the boat, a piece of straw is stuck behind, about 3 centimeters astern.
- This ensures that when the engine is inserted, straws are below the level of the boat.
- Straws are stuck at a distance of about a centimeter and a half from each other along the edge.
- Components are glued to secure them in place.
Sealing and Wiring
- The boat is sealed to ensure it is completely watertight.
- A wire approximately 10 centimeters long and 7 centimeters stern is bent into shape.
- A hole is made one centimeter from the top of this wire.
- The wire is crossed through this hole, creating an elevated platform for placing a candle under the engine.
New Section
This section covers additional steps in preparing and operating the boat.
Attaching Silicone Castillete
- The ends of the wire are bent, allowing for attachment of silicone castillete.
Finalizing Boat Assembly
- With all components in place, including castillete and wiring, our boat assembly is complete.
Heating Engine with Candle
- A candle can be placed under the engine to heat the water.
- A small wick can be added by making a hole in the candle with a wire.
Filling Water Engine
- To make the boat work, water needs to be filled into the engine.
- Water is poured through a straw until it comes out the other end.
- The holes are plugged to prevent water from leaking.
Testing and Operation
- The boat is placed in water.
- The candle under the engine is lit, and we wait for it to warm up.
- Once warmed up, the boat starts moving, powered by the heated engine.
New Section
This section provides final remarks and variations of building boats using recycled materials.
Duration and Variations
- The duration of the boat's operation depends on the candle wick.
- There are many variations and models that can be built using recycled materials.
Conclusion
- Building a simple boat using recycled materials is an easy task that can be done at home.