How to Set Up Your EaseUp Digital Planner (Step-by-Step Tutorial)
How to Start Using Your Easeup Digital Planner
Introduction to the Tutorial
- The video tutorial aims to guide users through the setup of their new Easeup digital planner, complementing a PDF setup guide provided after purchase.
- It is designed for both beginners and those wanting to ensure proper setup, instilling confidence in users.
Downloading the Planner
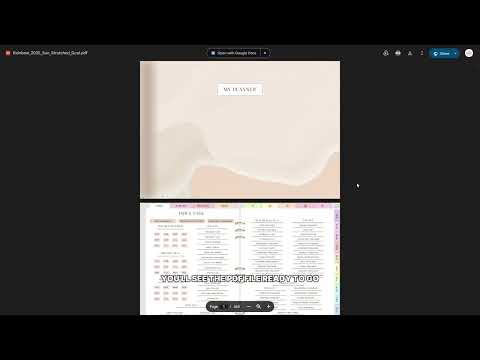
- After purchase, users receive an email with a download link; clicking it opens a PDF in Google Drive for easy access across devices.
- The PDF contains two important links: one for the setup guide and another labeled "digital planner" for customization.
Customizing Your Planner
- Users can personalize their planner by selecting color, start year, and week layout (Sunday or Monday), with future yearly updates available at no extra cost.
- Options include linking with Google Calendar or Apple Calendar; however, full sync isn't possible due to its nature as a PDF file.
Installing Annotation Apps
- To use the planner effectively, users must install a PDF annotation app suitable for their device (e.g., GoodNotes for Apple devices).
- GoodNotes is recommended for cross-device syncing; changes made on one device will reflect on others when logged into the same account.
Importing and Using Your Planner
- Users import their downloaded planner by selecting an import option within their chosen app.
- It's crucial to disable edit mode (or enable readonly mode) to interact with tabs and links effectively within the planner.
Utilizing Calendar Links
- The tutorial explains how calendar links work with Google and Apple Calendar; they create events with one click but do not sync back into the planner.