Basics of Cisco Packet Tracer (Part 1)
Introduction to Cisco Packet Tracer
Overview of Today's Session
- The lecture focuses on the basics of Cisco Packet Tracer, including downloading and working with the software.
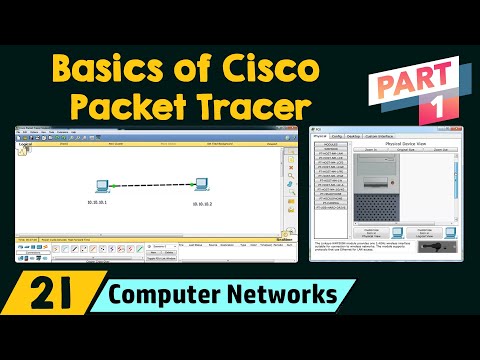
- An example will be established by creating a peer-to-peer network using Cisco Packet Tracer.
What is Cisco Packet Tracer?
- Cisco is a leading software company in networking, and Cisco Packet Tracer is a powerful simulation tool for practice, discovery, and troubleshooting.
Importance of Practical Knowledge
- Emphasis on acquiring both theoretical and practical knowledge rather than being solely exam-oriented.
- Practical skills are essential for succeeding in network-based interviews and exams like GATE.
Downloading Cisco Packet Tracer
Steps to Download
- Open a web browser (preferably Chrome) and navigate to netacad.com.
- Locate the packet tracer option on the website to access download instructions.
Enrollment Benefits
- Enrolling allows free access to learn about Cisco Packet Tracer through a short 10-hour course at the beginner level.
- The course offers self-paced learning in multiple languages; English is preferred here.
Using Cisco Packet Tracer
Opening the Software
- After installation, open Cisco Packet Tracer to access its workspace for building networks.
Tools Available in Workspace
- Various tools include routers, switches (preferably Cisco 2960), hubs, wireless devices, cables (straight-through and crossover), end devices (computers, printers), and security devices (firewalls).
Establishing a Peer-to-Peer Network
Selecting Devices
- Two computers will be used as end devices for establishing a peer-to-peer network.
Connecting Devices with Cables
- To connect two similar devices like computers, an Ethernet crossover cable must be used instead of a straight-through cable.
Cable Connection Process
Connecting Computers Using Ethernet Cables
Setting Up the Connection
- The process begins with connecting two computers using an Ethernet crossover cable plugged into their respective FastEthernet ports.
- Each computer has an Ethernet port where the crossover cable is inserted, establishing a direct connection between them.
Assigning IP Addresses
- Before testing connectivity, it's essential to assign IP addresses to both PCs. This step is crucial for network communication.
- The first PC is assigned the IP address 10.10.10.1, while the second PC receives 10.10.10.2; subnet masks are not addressed at this stage.
- Labels are added for clarity: one computer is identified as having IP 10.10.10.1 and the other as 10.10.10.2.
Checking IP Configuration
- To verify the configuration, the command
ipconfigis used in the command prompt of each PC to display their respective IP addresses.
- The first computer's command prompt confirms its IP address as 10.10.10.1; similarly, checking the second computer reveals its address as 10.10.10.2.
Viewing MAC Addresses
- To find physical (MAC) addresses,
ipconfig /allis executed on both PCs; this displays detailed network information including MAC addresses.
- Notably, different notation styles are observed: Windows uses hyphens while Cisco uses dots in MAC address formatting.
Testing Connectivity Between Computers
- A ping test is conducted from PC with IP 10.10.10.1 to check if it can reach PC with IP 10.10.10.2 by sending four packets.
- Successful replies indicate that all four packets were received without loss, confirming connectivity between both computers.
Conclusion on Simulation Tools
- The effectiveness of Cisco Packet Tracer as a simulation tool is highlighted; it provides a realistic experience akin to working with actual devices.
- Users are encouraged to utilize such tools for better understanding and practical learning in networking concepts and configurations.
This structured overview captures key steps and insights from setting up a basic network connection between two computers using Cisco Packet Tracer, emphasizing practical application and verification methods within networking fundamentals.