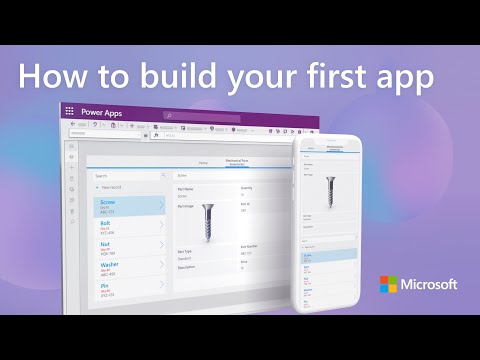
How to build your first app using Power Apps | Automatically with Copilot or from scratch
Building Power Apps with Zero Coding Experience
In this video, the presenter shows how to build a Power App in under ten minutes using Microsoft's Power Platform for building low code apps and processes. The app can originate from a task or process that you want to make easier as you work with others.
Using AI with Copilot
- Navigate to make.powerapps.com and select the new Copilot option.
- Type "track inventory for mechanical parts" and hit go.
- Add or remove columns easily by chatting with Copilot.
- Ask Copilot to give additional suggestions.
Building an App from Scratch
- Choose to build an app from a blank canvas.
- Select the canvas app, which is going to let you visually create a tailored, custom experience.
- Customize your app further in the Power Apps Studio.
Key Takeaways
- Power Apps is part of Microsoft's Power Platform for building low code apps and processes.
- You can build an inventory tracking app like this one for mechanical parts that anyone can use on the job for tracking and entering new parts.
- Copilot generates a table central to your app, which makes sense since it's an inventory app and you need a way to capture data.
- Hit create to build your app. And in just a few moments, Copilot has generated an app for you, and you're in the Power Apps Studio where you can customize and edit your app further.
Introduction to Building Apps in Power Apps
In this section, the speaker introduces the concept of building apps in Power Apps and explains how different screens and layouts can be added to an app.
Adding Screens and Layouts
- As more items are added to the app, multiple screens with different formats can be created.
- The bar along the top has common editing actions such as Insert that lets users add different controls like labels, buttons, shapes, etc.
- To create a table, select "Add Data" and use the table editor to build it.
Creating Tables
- By default, every app needs data from Dataverse for reading and writing data.
- Columns can be added by selecting "Add Column" and configuring each column with its properties.
- Sample data can be manually added by typing directly into cells in the table.
Building App Experience
- The insert menu lets users add new things to their app. A vertical gallery is used on the left side of the screen with parts listed while details for selected parts are shown on the right side of the screen.
- A vertical gallery is a pre-formatted list view that allows quick selection and movement between items.
- Properties for anything selected on canvas are shown on right side of screen. Gallery layout can easily be edited here.
- Title shows part name while subtitle shows quantity of parts in stock. Body shows part number which currently doesn't have data filled in.
- An edit form is chosen from insert menu which will let user see data fields for each part in the app.
- Fields can be edited to add ones that show additional details about parts in inventory.
Connecting Gallery Items with Fields
- The next step is to connect the items seen in the vertical gallery with the fields seen in the edit form.
Building a Power App with Gallery and Form
In this section, the speaker explains how to use the formula bar to make a form and gallery work together.
Using the Formula Bar
- To reference a gallery in the formula field, type its name in the dropdown list that appears after clicking on the property dropdown.
- Use a dot after the gallery's name to reference its properties.
- To show details of selected parts in an edit form, use the "selected" option.
Conclusion
The speaker concludes by discussing what will be covered in part two of their series.
Part Two: Adding Customizations and Sharing Your App
- Uploading photos of parts and adding logic to send emails will be covered.
- Basics around publishing and sharing your app for others to use will also be discussed.
- Check back at aka.ms/PowerAppsAuthoring playlist for future episodes.
Turn any video into a summary like this
YouTube links, meetings, lectures. With transcripts, search, and chat.