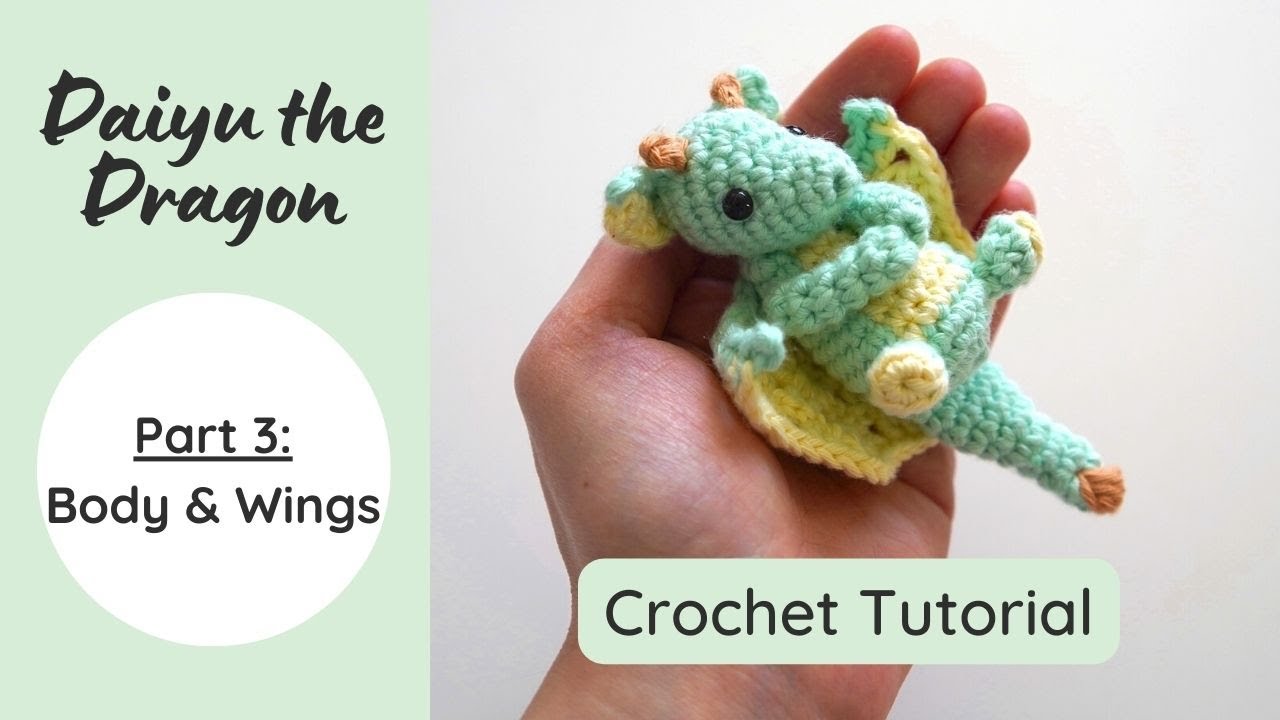
Daiyu the Dragon · PART 3 · Amigurumi Tutorial & Free Crochet Pattern
Introduction
The introduction discusses the availability of a written pattern as an alternative to video instructions and introduces the option for a webbed ear version.
Crocheting the Body of the Dragon
- Starting with the main body color, which is purple, and incorporating a belly color like light pink.
- Beginning with a magic ring for round one and inserting six single crochets into it.
- Increasing in round two by inserting two single crochets in each stitch, resulting in 12 stitches.
- Round three involves repeating a single crochet and an increase around to reach 18 single crochets.
- Round four consists of two single crochets followed by an increase, achieving 24 stitches at the end.
Adding Belly Color
- In round six, transitioning to the belly color after five stitches with pink before switching back to purple yarn.
- Single crocheting for most of round six but decreasing in the last two stitches to prepare for the belly section.
- Continuing with rounds seven and eight by alternating between belly and body colors while incorporating decreases strategically.
Dragon Amigurumi Crochet Tutorial
In this section, the tutorial covers crocheting the body of a dragon amigurumi, focusing on color changes and shaping techniques.
Crocheting the Dragon's Body
- The tutorial begins with counting stitches and transitioning between colors to create the dragon's body.
- Instructions are provided for single crocheting, decreasing, and changing yarn colors to achieve the desired pattern.
- Demonstrates decreasing stitches while maintaining color consistency for a seamless transition in the design.
- Progress update on the dragon's body, emphasizing the formation of the belly area with a contrasting color.
- Continuing with single crochet and decreasing techniques to shape the dragon's body effectively.
Finalizing Dragon's Body and Adding Details
This part focuses on completing the dragon's body details, preparing it for further embellishments like wings.
Final Steps for Dragon's Body
- Demonstrates additional rounds of single crochet and decreasing to refine the shape of the dragon's body.
- Transitioning from belly colored yarn to body colored yarn for specific stitch counts before finishing off with a slip stitch.
- Adjusting any unevenness in the crochet work and trimming excess yarn to prepare for subsequent steps.
Enhancing Dragon Appearance with Half Round
This segment introduces a technique to enhance the appearance of the dragon by creating a unique feature for attaching its head.
Creating a Tucked Chin Look
- Explains how adding a half round creates an elevated ridge at the back of the dragon, enhancing its posture when attaching the head.
- Detailed instructions on turning work direction, skipping stitches, single crocheting, and slip stitching to achieve desired effect.
Preparing for Wing Attachment
Preparing materials and beginning work on crafting wings as an essential step in completing your amigurumi dragon.
Crafting Dragon Wings
- Introduction to using two different colors for wing construction: main color bulk and top edging color.
Crochet Tutorial: Creating a Dragon Wing Part 2
In this section of the crochet tutorial, detailed instructions are provided on creating a dragon wing. The tutorial covers various crochet techniques and stitches to achieve the desired design.
Creating Foundation Chain and Double Crochets
- Insert a double crochet in the fifth chain from the hook.
- Chain and double crochet three times into the same stitch for a total of five double crochets and five chains.
- Begin round two by chaining five, where each chain counts as both a double crochet and a chain.
Working on Round Two
- Insert two double crochets in the first chain space.
- Chain two, then insert two double crochets in the next chain space, repeating this pattern three times.
- Complete round two with ten double crochets and five chain spaces.
Continuing with Rounds Three and Four
- For round three, repeat similar steps with variations in chaining and inserting double crochets.
- Conclude round three by following specific instructions for each stitch.
- Start round four by chaining five before turning your work to continue along the rounded edge.
Finalizing Round Four and Transitioning Colors
- Insert two double crochets in the first chain space of round four.
- Complete round four with specific stitching patterns before transitioning to another color yarn for further detailing.
Transitioning to Top Edging
This part focuses on transitioning to working on the top edging of the dragon wing using purple yarn. Detailed instructions are provided for single crocheting along the top edge to create a neat finish.
Working with Purple Yarn
- Switch to purple yarn by chaining two and inserting a single crochet in the second chain from your hook.
Crochet Tutorial: Completing the Wing Part
In this section, the speaker demonstrates how to complete the wing part of a crochet project.
Completing the Center and Continuing Stitching
- The speaker mentions that they no longer need a specific music piece and proceeds with starting the tail for the entire wing.
- Demonstrates inserting two single crochets at the very center where you started and continues stitching along.
Finishing Off the Wing
- To finish off, two chains are made, followed by inserting a single crochet into the second chain from the hook. The process concludes by fastening off with a tail for weaving into the ends of the wing.