Daiyu the Dragon · PART 4 · Amigurumi Tutorial & Free Crochet Pattern
Introduction
The introduction discusses the availability of a written pattern and an ad-free PDF version for those who prefer it.
Starting the Pattern
- The video will begin demonstrating the free version of the pattern through video instruction.
Printable PDF Pattern
- A printable, ad-free, easy-to-read PDF version is available for instant download from the store.
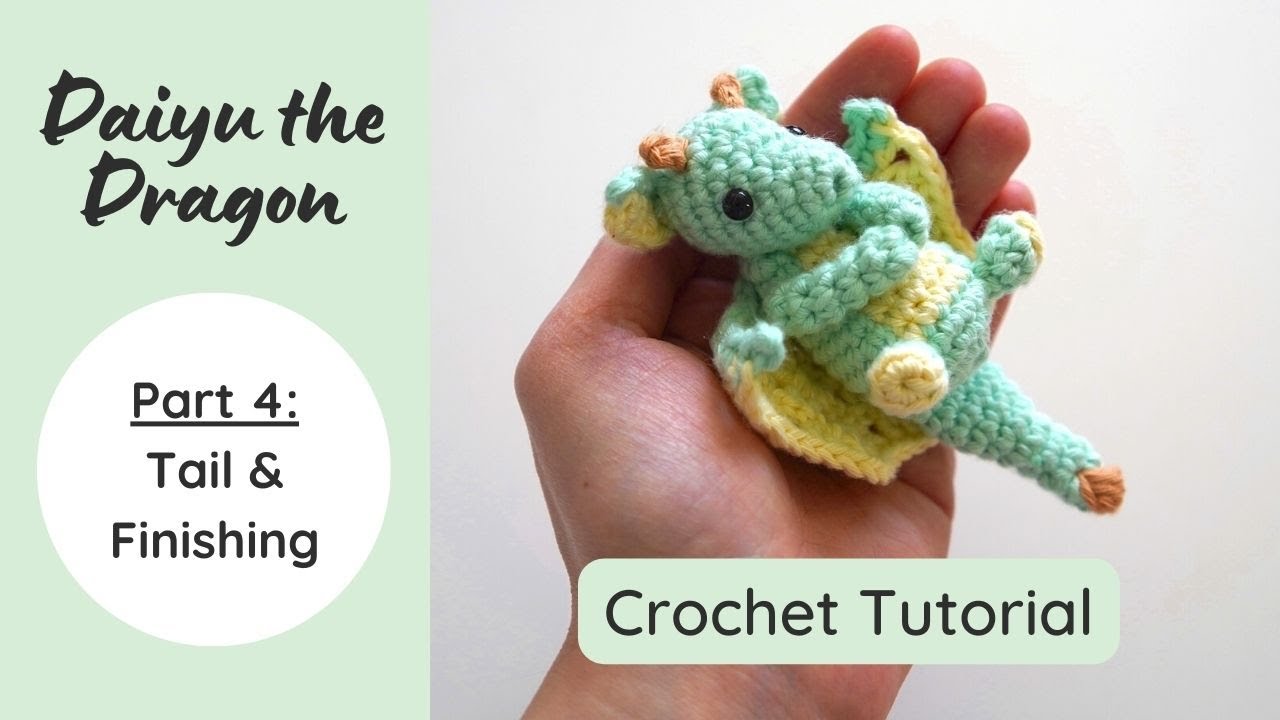
- Different colors are used for the main tail and tail tip sections.
Crocheting the Tail
This section covers crocheting the dragon's tail with detailed instructions on rounds one to nine.
Round One
- Start with a magic ring and insert four single crochets.
Rounds Two to Three
- In round two, single crochet and increase around to have six stitches in total.
- Round three involves single crocheting around to maintain six stitches.
Rounds Four to Six
- Round four includes single crochet and increase twice.
- Round five consists of single crocheting all the way around (eight stitches).
- In round six, single crochet three times and then increase twice.
Rounds Seven to Nine
- Rounds seven to nine involve straight single crocheting without increasing, maintaining ten stitches per round.
Adding Tail Tip
Adding the tail tip involves attaching yarn and creating a puff stitch at the end of the dragon's tail.
Attaching Yarn
- Insert your hook into a stitch at the very tip of the tail and start with a chain before proceeding with yarn overs and loops creation.
Creating Puff Stitch
- Repeat yarn over, pull through loops process three times to create seven loops on your hook before fastening off with a long tail for sewing later.
Finishing Instructions
The finishing instructions involve assembling different parts of the dragon before sewing them together.
Assembling Dragon Parts
- Gather all dragon parts including head, horns, ears (if webbed), wings, arms, body, and feet for assembly using sewing pins as visual aids before stitching them together.
Dragon Crafting Tutorial
In this section, the speaker demonstrates how to assemble a dragon craft piece by piece, starting with attaching the tail and then adding legs, arms, wings, ears, and head to create different poses for the dragon.
Attaching Tail and Body Parts
- The tail is attached between rounds three to four on the dragon's back.
- Legs are placed over rounds five to six at the bottom of the body.
Adding Arms and Wings
- Arms are positioned over round 11 of the body.
- The center of the wing is attached to round 12 or top edge of the body.
Attaching Ears and Head
- Sew webbed ears onto the back of the dragon's head based on preference.
- Positioning the head at an angle gives a tucked chin look or straight for a different appearance.
Finalizing Dragon Craft
This part focuses on completing the dragon craft by sewing all pieces together meticulously while providing tips for effective sewing techniques.
Sewing Pieces Together
- Use a yarn needle for sewing pieces onto the dragon.
- Stitch each piece slowly and accurately, ensuring proper placement before securing them together.
Completed Dragon Variations
The final segment showcases various completed dragons with distinct poses and finishing touches, highlighting how small adjustments can create unique appearances despite using similar parts.
Different Dragon Poses
- Dragons can be crafted in standing or curled-up poses by adjusting limb positions.
- Tail placement can vary from hanging down to being off to one side for diverse looks.